Often my prospective clients want to know why I don't have stock samples available for them to see at my shop. Or, they want to know if they can just come by and purchase something they've seen on my website. Everything I make is custom made and the process can often be involved and quite specific to your needs. I thought it would help to create a blog/projects progress page on my website to showcase interesting projects as they are designed, planned and then constructed to help my customers to understand the attention to their needs that each project involves. I hope you enjoy traveling through the process of these projects. I look forward to helping plan quality woodwork for your project.
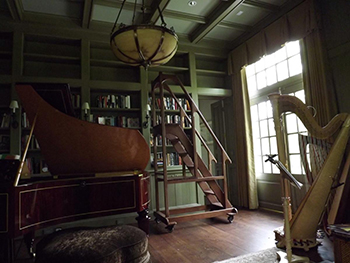
A long time client built a new home with a big library. She has two long rows of 12 ft tall bookcases with a grand piano in the middle of the room. The usual style of rolling ladderfor a bookcase was not feasible here.
She found a picture of a wooden rolling staircase that she wanted me to use as a guide to build one similar to fit her room. I designed a seven step ladder that would let her reach the top-most shelves. This design also took into account that the client is petite, it needed to be tall enough for her to bring books up to the topmost shelves while being sturdy enough for her to reach over it when shelving. The final dimensions were: the top step is 66.5" off the floor; top of the railing is 95" high. It weighs in the neighborhood of 300 lbs.
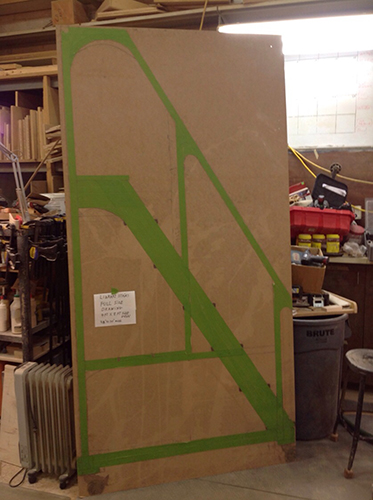
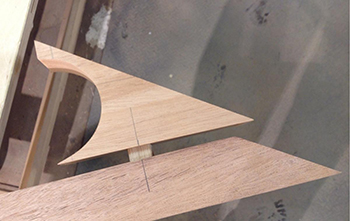
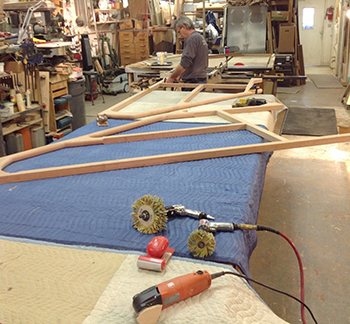
I like to build unusual projects, but I hate doing scale drawings. When you draw full size you can visualize the joinery and solve construction problems as you draw. I added the green tape so I could send a picture to the client. I was able to measure part sizes straight off the drawing.
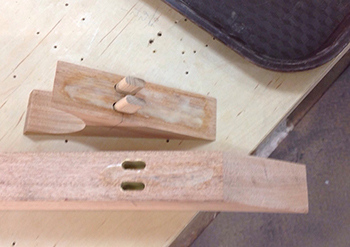
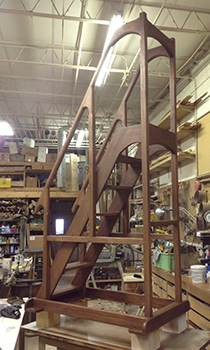
To begin construction a jig had to be built to route the dados (slots) to house the stair treads. Below is a test construction showing that the staircase design and sizing fit together very nicely.
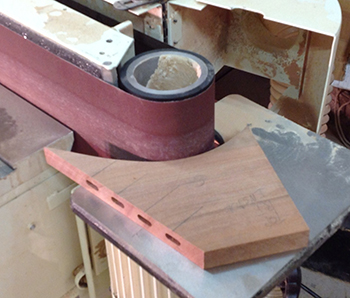
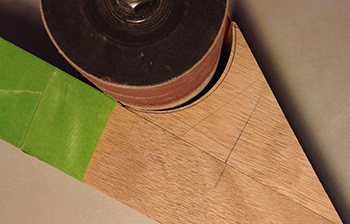
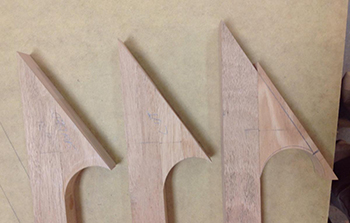
The curves that make the Staircase a piece of furniture required loads of layout work to place the domino tenons that carry the load. The bandsaw was use to create the curve after cutting the critical angles and morticing out for all the dominos. It was then necessary to make a quick pass on the oscillating belt sander before I could be ready for the glue up.
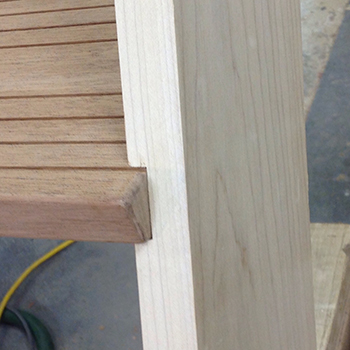
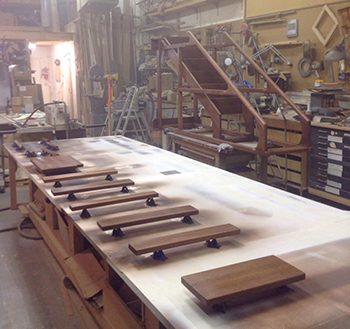
The stair treads were grooved to improve traction. They were kerfedon the table saw with the blade up 1/8". As shown below I rounded over the front edges with a 1/8" radius bit and made sure not to ruin the tight fit into the stringers.

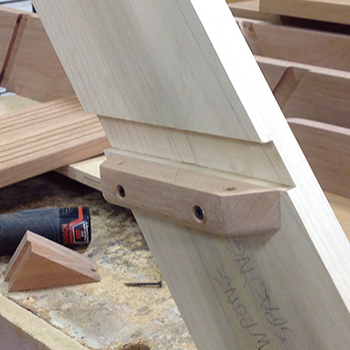
After consultation with my client, who didn't want to see bolts or screw heads on the outside of the stair stringers, I came up with some blocking to screw under each tread. Square strips of mahogany were cut, drilled and rounded over.
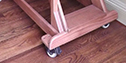
Heavy duty commercial locking casters that lock the swivel and wheels were ordered and sent out to be powder coated black. These are rated at 250 lbs. EACH. In the original form they were not very attractive The power coating is a baked on at 400 degrees of several hours.
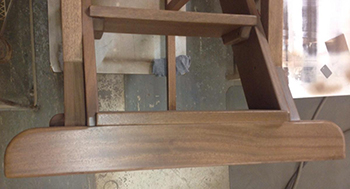
The picture below shows the staircase glued up and all the blocks in place. I only glued the center of each tread so the wood can move when it needs to.

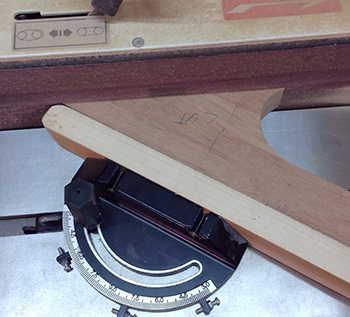
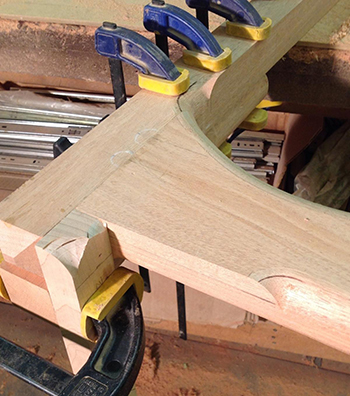
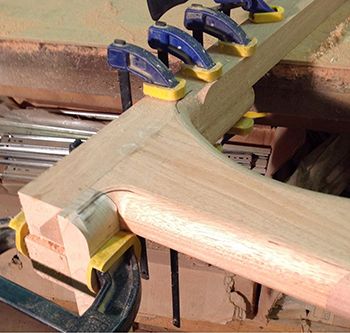
It was then time to work on the railings and support posts. First they had to be cut to exact size. Then I got the curved braces on the handrail posts. This took a few more steps than I had planned, but they came out pretty close to perfect!
All this was done in 3 stages, angled part glued on, angle sawed flush with post and angle sanded ready for the handrail. It sure was a fussy process but 2 matched posts in 2 different lengths was a satisfying result.
At that point I was able to get one side of the framework and handrail cut and clamped up to mark all the joinery. Each joint will have at least 2 dominoes and all the wider joints will have 4 to 6 to handle the weight and stress.
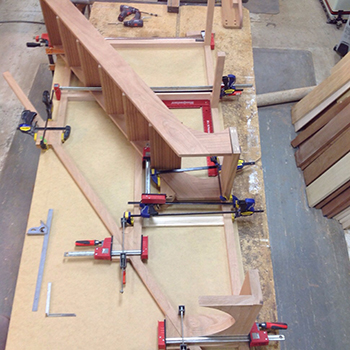
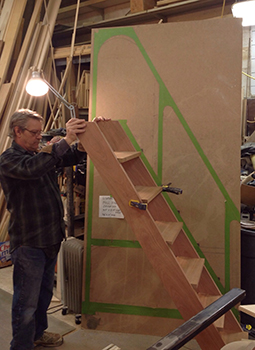
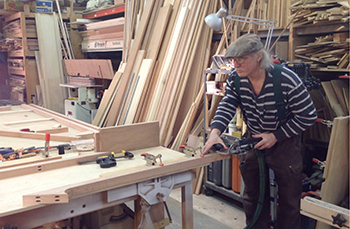
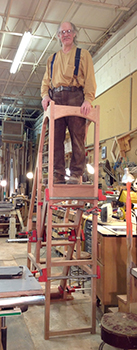
Once the complete frame was cut it was dry fitted it to make sure everything would pull up tight and square. Once one side of the frame was clamped-up the final parts could be cut to build the left side. That's me in the picture below.

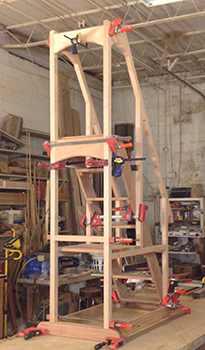
Next I was able to get the whole staircase dry fitted and clamped up! I was pleased that everything came out rock solid. No flex in the handrails. I cautiously climbed to the top and felt very comfortable standing on the platform. From the top I could almost touch the 16 ft warehouse ceiling; of course the staircase was sitting on my assembly table at that point.

Here is a picture of me on the stairs.
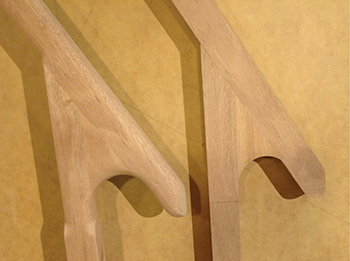
It had to be taken apart so that I could get down to the business of routing all the railings. In the pictures below you can see the upper part is routed and the lower part has the stop set up ready to be routed. When doing all this, I had to clamp on stop blocks to keep from rounding over too much of the vertical posts. It was a slow process of routing a short section, moving and setting up more stops and then routing again. It took all afternoon.
Over 8 hours of sanding! Pulled out every tool, grit and trick I knew and used them all. Once all the dust was blown off I still found a few joints that were less than perfect. It was more sanding for me.
When I finally got it all sanded and started final assembly I was worried that the posts and railings needed to be as rigid as possible so every possible intersection got glued and a few discrete screws.
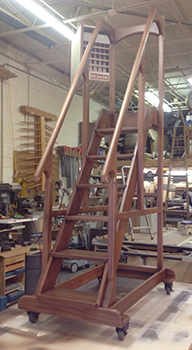
And there it is finally assembled!
I was ready for my client to stop by the shop and approved the finish sample and try out the stairs. The decision on the finish is that it was to be a light coat of a medium brown stain with a satin clear finish.
The finish required two coats on every surface! Everything was sanded between coats.
I was quite happy with the results!
Getting ready to load it on the truck for delivery.

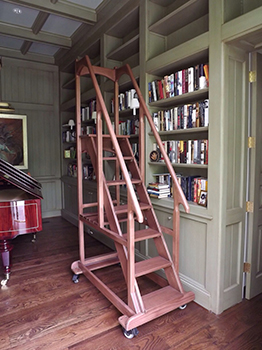
The client was happy with how nicely it fit the room. She felt comfortable shelving books from the top step.